
As an Amazon Associate, I earn from qualifying purchases. Some links below are affiliate links, meaning I may earn a small commission at no extra cost to you. Thanks for supporting my little corner of the internet (and my coffee budget)!
There is no “right” or “wrong” way to breastfeed. Whether you nursed for three days, three months, or three years—your body did something remarkable. Breastfeeding is beautiful, selfless, emotional, and unbelievably hard at times.
Between figuring out your supply, wondering if baby ate enough, managing leaks, and trying to stay awake during every feed, it can feel overwhelming. And when you add in the pressure to “build a freezer stash,” it gets even more stressful.
That’s why I’m sharing exactly how I built my stash without extra pumping, elaborate schedules, or burnout. This method worked with my natural feeding rhythm, fit into life as a new mom, and helped me build over 250 oz of frozen milk with ease.
Quick Summary
What worked for me:
- Used a Haakaa during daytime feeds
- Stored milk between feeds using two Haakaas with lids
- Combined only chilled milk safely
- Froze flat for easier organization
- Built over 250 oz by 9 months
- All without extra pumping sessions
Why I Wanted a Freezer Stash
Returning to work meant I needed a cushion—a backup for low-output days and a safety net for days when pumping wasn’t possible. I wanted:
- Flexibility with combo-feeding
- Less stress around daily pumping output
- Peace of mind knowing baby always had what they needed
This stash ended up giving me confidence, comfort, and room to breathe. Anything that gives you one less thing to worry about as a new mom is a win in my book.
Supplies I Used
These kept the process simple and low-maintenance:
- Haakaa silicone breast pump with lids(I used two)
- Breastmilk storage bags (you can get free ones through insurance companies)
- BPA-free baby bottle for combining chilled milk
- Freezer organizer or bin for stacking flat bags
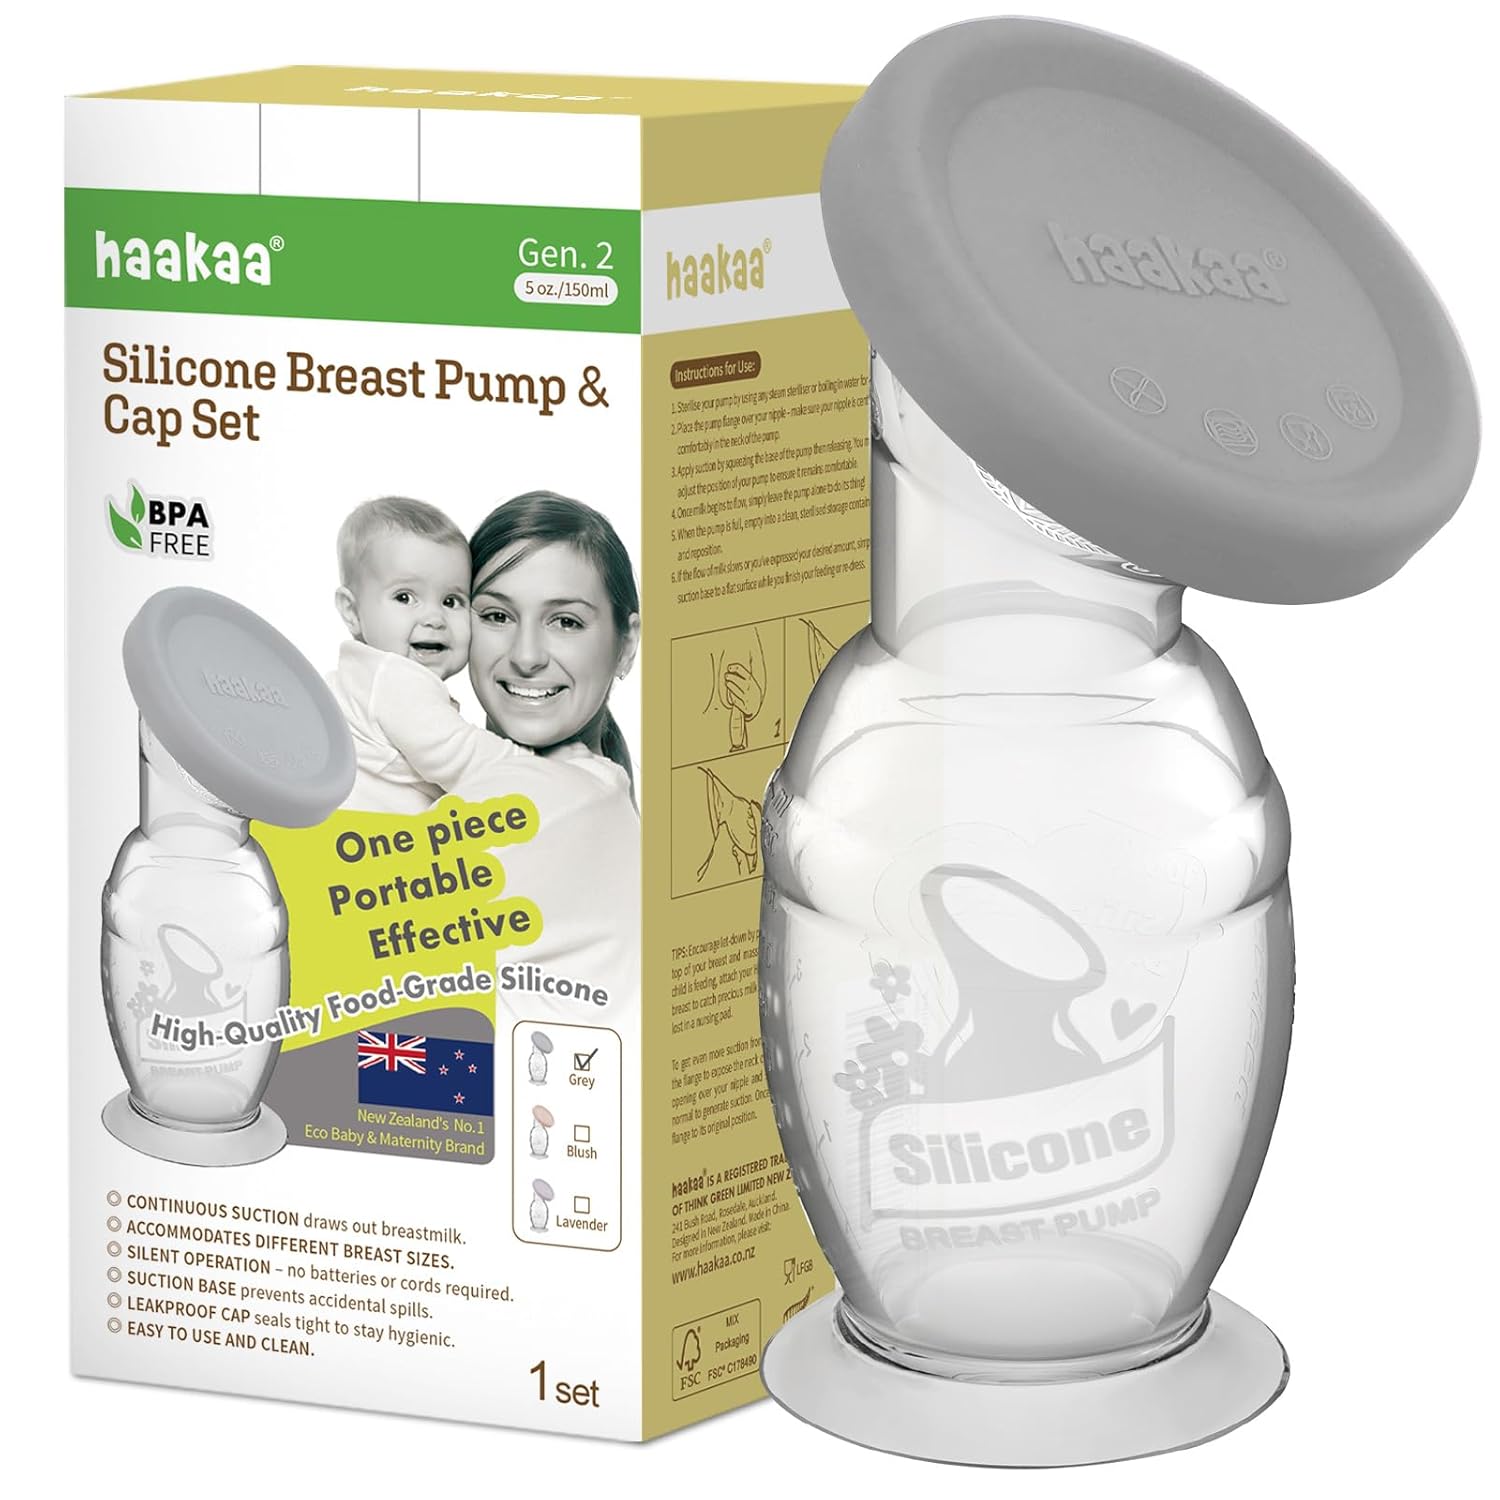
I used two so there were less dishes throughout the day
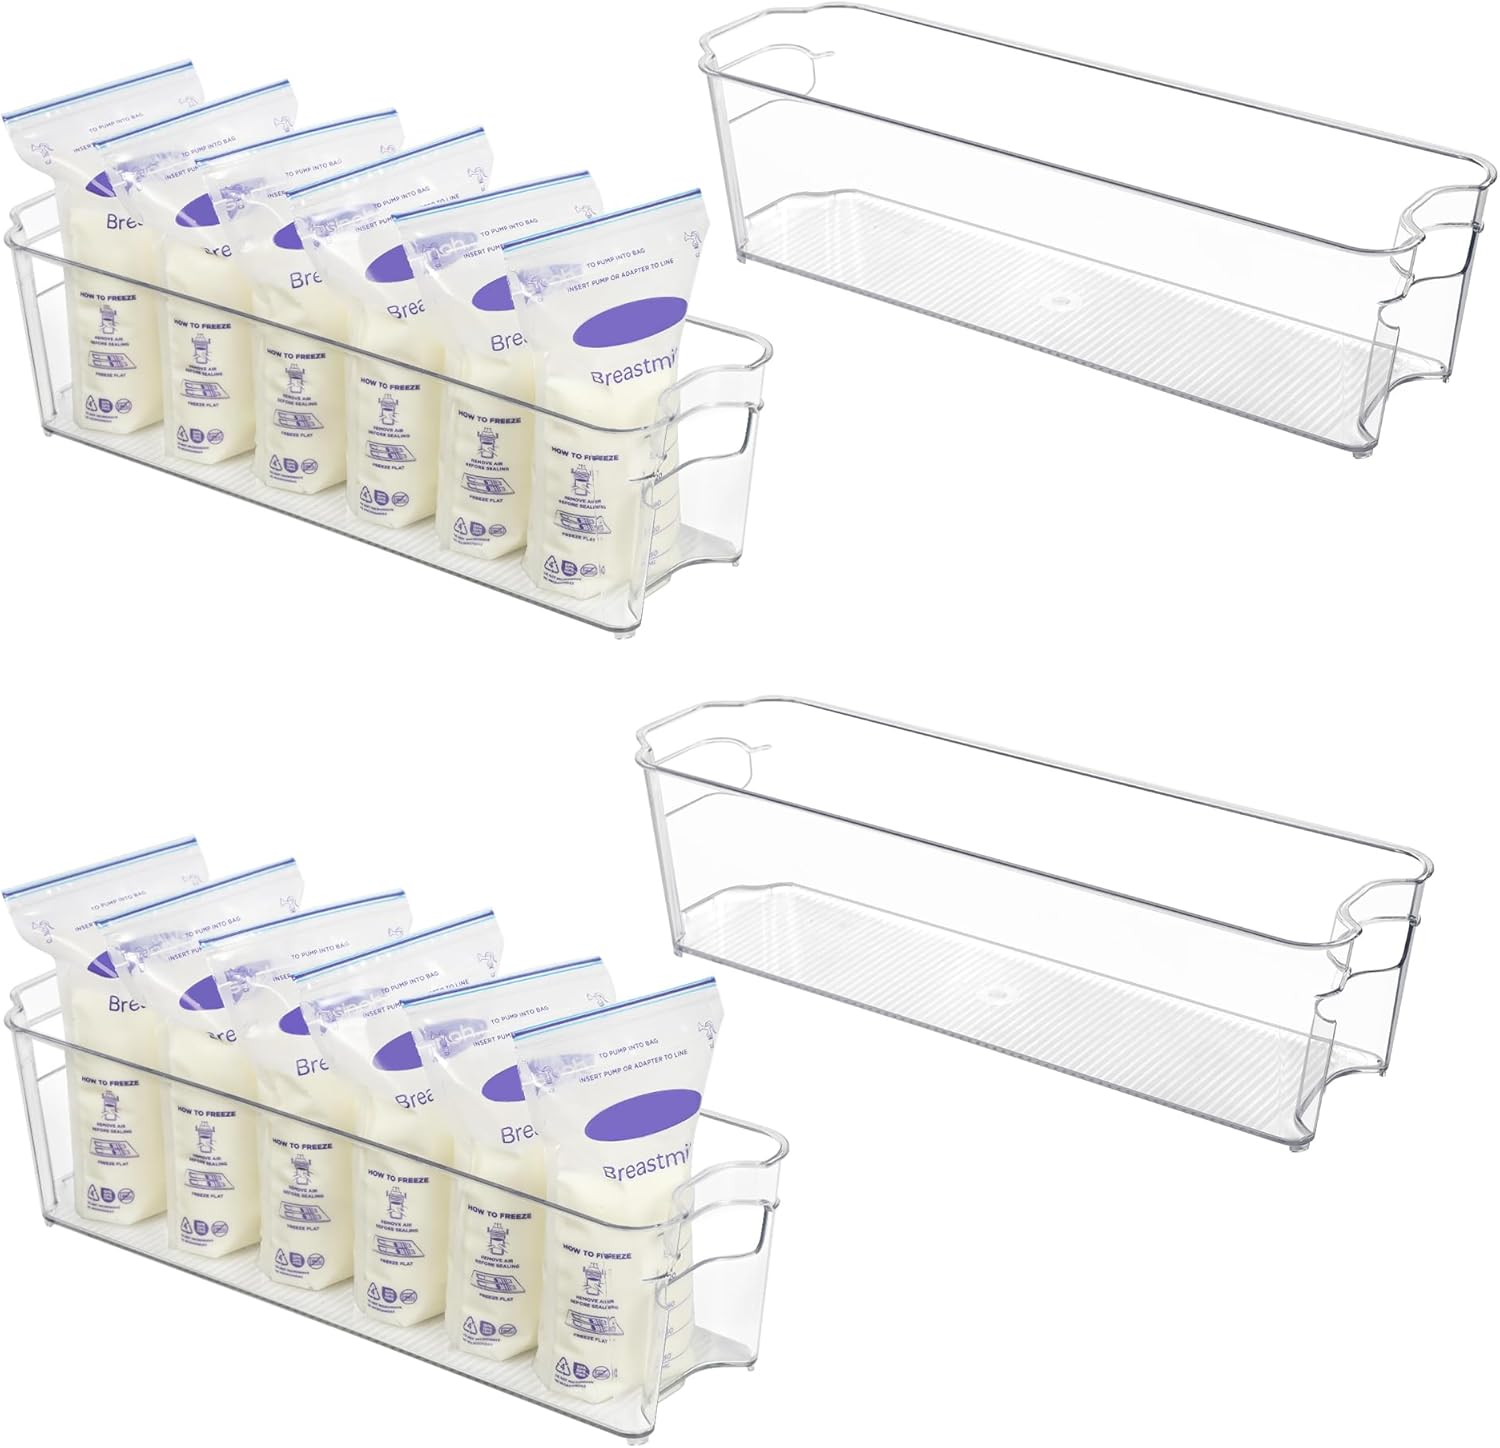
Perfect to keep your milk organized by date
ProTip: breastfeeding/pump supplies are normally FSA/HSA eligible. Always check with your insurance company for a way to save!
My Simple, Realistic Freezer Stash Method (Step-by-Step)
Step 1: Use a Haakaa at Every Daytime Feed
The Haakaa is the unsung hero of breastfeeding.
Here’s exactly what I did:
- Feed the baby on one breast.
- Attach the Haakaa to the other side.
- Let it collect whatever milk naturally let down.
Some feeds gave me 1–2 oz. Others barely covered the bottom. Either way—it counted.
Why This Works
Your body responds to consistent, gentle removal by continuing to produce a little extra. It’s a supply-supporting nudge, not full-on pumping.
Step 2: Rotate Between Two Haakaas With Lids
This kept things easy and prevented nonstop washing. And if you have a newborn, you know—there are always dishes waiting. Any chance to avoid one more is a victory.
Here’s the routine:
- Feed 1 → Haakaa A → collect → store in fridge
- Feed 2 → Haakaa B → collect → store in fridge
- Feed 3 → Haakaa A again (after combining all chilled milk, this one was empty now)
Lids were a lifesaver for preventing spills and keeping milk safe.
Step 3: Combine Milk Safely (Chilled With Chilled Only)
Safety matters here.
Always combine milk at the same temperature.
- Chilled milk + chilled milk = Safe
- Warm milk + cold milk = Not safe
Once both Haakaas had been chilled for at least an hour, I would:
- Combine them into one Haakaa, or
- Pour into a small baby bottle for easier measuring
When I hit 4–6 oz total, I called it a “freeze batch.”
Step 4: Freeze Every Batch Flat
This was a game changer for storage.
How to Freeze Your Milk
- Fill a breastmilk storage bag
- Label with:
- Date
- Ounces
- Date
- Lay flat in the freezer until frozen
- Store upright in a bin for easy rotation
Why Freeze Flat?
- Saves a ton of space
- Bags thaw faster and more evenly
- You can stack and sort easily
Over weeks and months, these little batches snowballed into a huge stash.
How This Method Supported My Milk Supply
I wasn’t aggressively pumping, but consistent Haakaa use signaled to my body:
“This milk is being used—keep making just a little extra.”
This gentle stimulation helped me:
- Maintain a stable supply
- Reduce pressure during workday pumping
- Continue combo-feeding until 9 months
- Use my freezer stash as a backup instead of my main supply
It became a cushion – emotionally and practically.
The Result: Over 250 Ounces Stored
The day I opened my freezer and saw rows of neatly stacked bags—over 250 ounces—I cried. Not because of the number, but because:
- It represented consistency
- It reflected a season of love and sacrifice
- It proved I could breastfeed in my way
If you’re in the trenches right now, taking it one ounce at a time—your journey is just as important. Give yourself grace and listen to your body. I planned to breastfeed for a year, but my body was ready to stop at nine months, and I’m still so proud of that.
Curious about my 2AM snack hacks? Check them out here.
Common Questions
How much of a freezer stash should I aim for?
Anywhere from 50–200 oz is typical, depending on work schedules and goals. Even 20 oz is a great start.
Is Haakaa milk just foremilk?
Not always. The Haakaa often catches a mix of letdown milk, foremilk, and occasionally hindmilk.
How long does frozen breastmilk last?
Typically up to 6 months in a standard freezer and 12 months in a deep freezer. If you have questions about milk safety, always reach out to a professional to discuss your concerns.
How many ounces per bag is ideal?
4–6 oz is an efficient amount—easy to thaw, portion, and rotate.
Do I have to use two Haakaas?
No, but it simplifies the process and cuts down washing. This is also what just worked for me, everyone’s journey is so different!
Do you have any tips or tricks that helped you build your own freezer stash? I’d love to hear what worked for you — feel free to share in the comments below!