If you love the idea of tiramisù but not the idea of raw eggs, complicated steps, or a dessert that takes longer to make than your toddler’s nap… this one’s for you.
This quick and easy tiramisù recipe is designed for real life — the kind where dessert happens between dinner cleanup and bedtime routines. It’s creamy, lightly sweet, and full of that classic coffee flavor, but without the stress of traditional tiramisu methods. No baking, no special equipment, and no advanced planning required.
And let’s be honest — adults deserve treats too.
Whether you’re making this for a casual get-together, a holiday, or a quiet night at home, this tiramisù is easy to adapt for your whole family. If you’re serving kids, I recommend using decaf coffee and skipping the alcohol entirely. Heads up, there is added sugar, so I would not share with toddlers. But if it’s an adults-only situation? A splash of coffee liqueur, rum, or Kahlúa adds that unmistakable tiramisù depth we all love.
Why you’ll love this recipe:
- Quick and beginner-friendly
- No oven required
- Easy to make ahead
- Family-friendly with simple swaps
- Still feels indulgent and special
This isn’t a “perfectly authentic” tiramisù — it’s a busy-parent tiramisù. One that fits into real schedules and still delivers on flavor.
Fun fact: tiramisù literally means “pick me up” in Italian — a nod to the sugar, coffee, and (sometimes) alcohol that give this dessert its signature boost. Which honestly feels very fitting, because if there’s one thing busy parents need, it’s a little pick-me-up. Let’s get to it!
Easy No-Bake Tiramisu (Family-Friendly with Simple Swaps)
Course: DessertCuisine: ItalianDifficulty: Easy6
servings30
minutesIngredients
1 Cup Heavy Whipping Cream
1 Cup Mascarpone Cheese (Room Temperature)
2 1/2 Cups of Chilled Espresso (or coffee)
1/3 Cup Sugar
1 teaspoon of Vanilla extract
6 Tablespoons of Kahlúa (or Alcohol of choice)
1 Package of Lady Fingers (I use Bellino Savoiardi brand)
Cocoa Powder for dusting
Directions
- In a large mixing bowl, beat the heavy whipping cream, vanilla, and sugar until stiff peaks form.
- Add the mascarpone cheese and 3 tablespoons of Kahlúa. Gently whip until just combined and soft peaks form. Do not overmix.
- In a shallow bowl, combine the chilled espresso with the remaining 3 tablespoons of Kahlúa.
- Gather all components and prepare a 9×13-inch dish for layering.
- Spread a thin layer of the whipped mascarpone mixture on the bottom of the dish. Quickly dip each ladyfinger into the espresso mixture (do not soak), then arrange in a single layer, similar to lasagna noodles.
- Spread half of the remaining whipped mixture evenly over the ladyfingers. Repeat with another layer of dipped ladyfingers, then finish with the remaining whipped mixture on top.
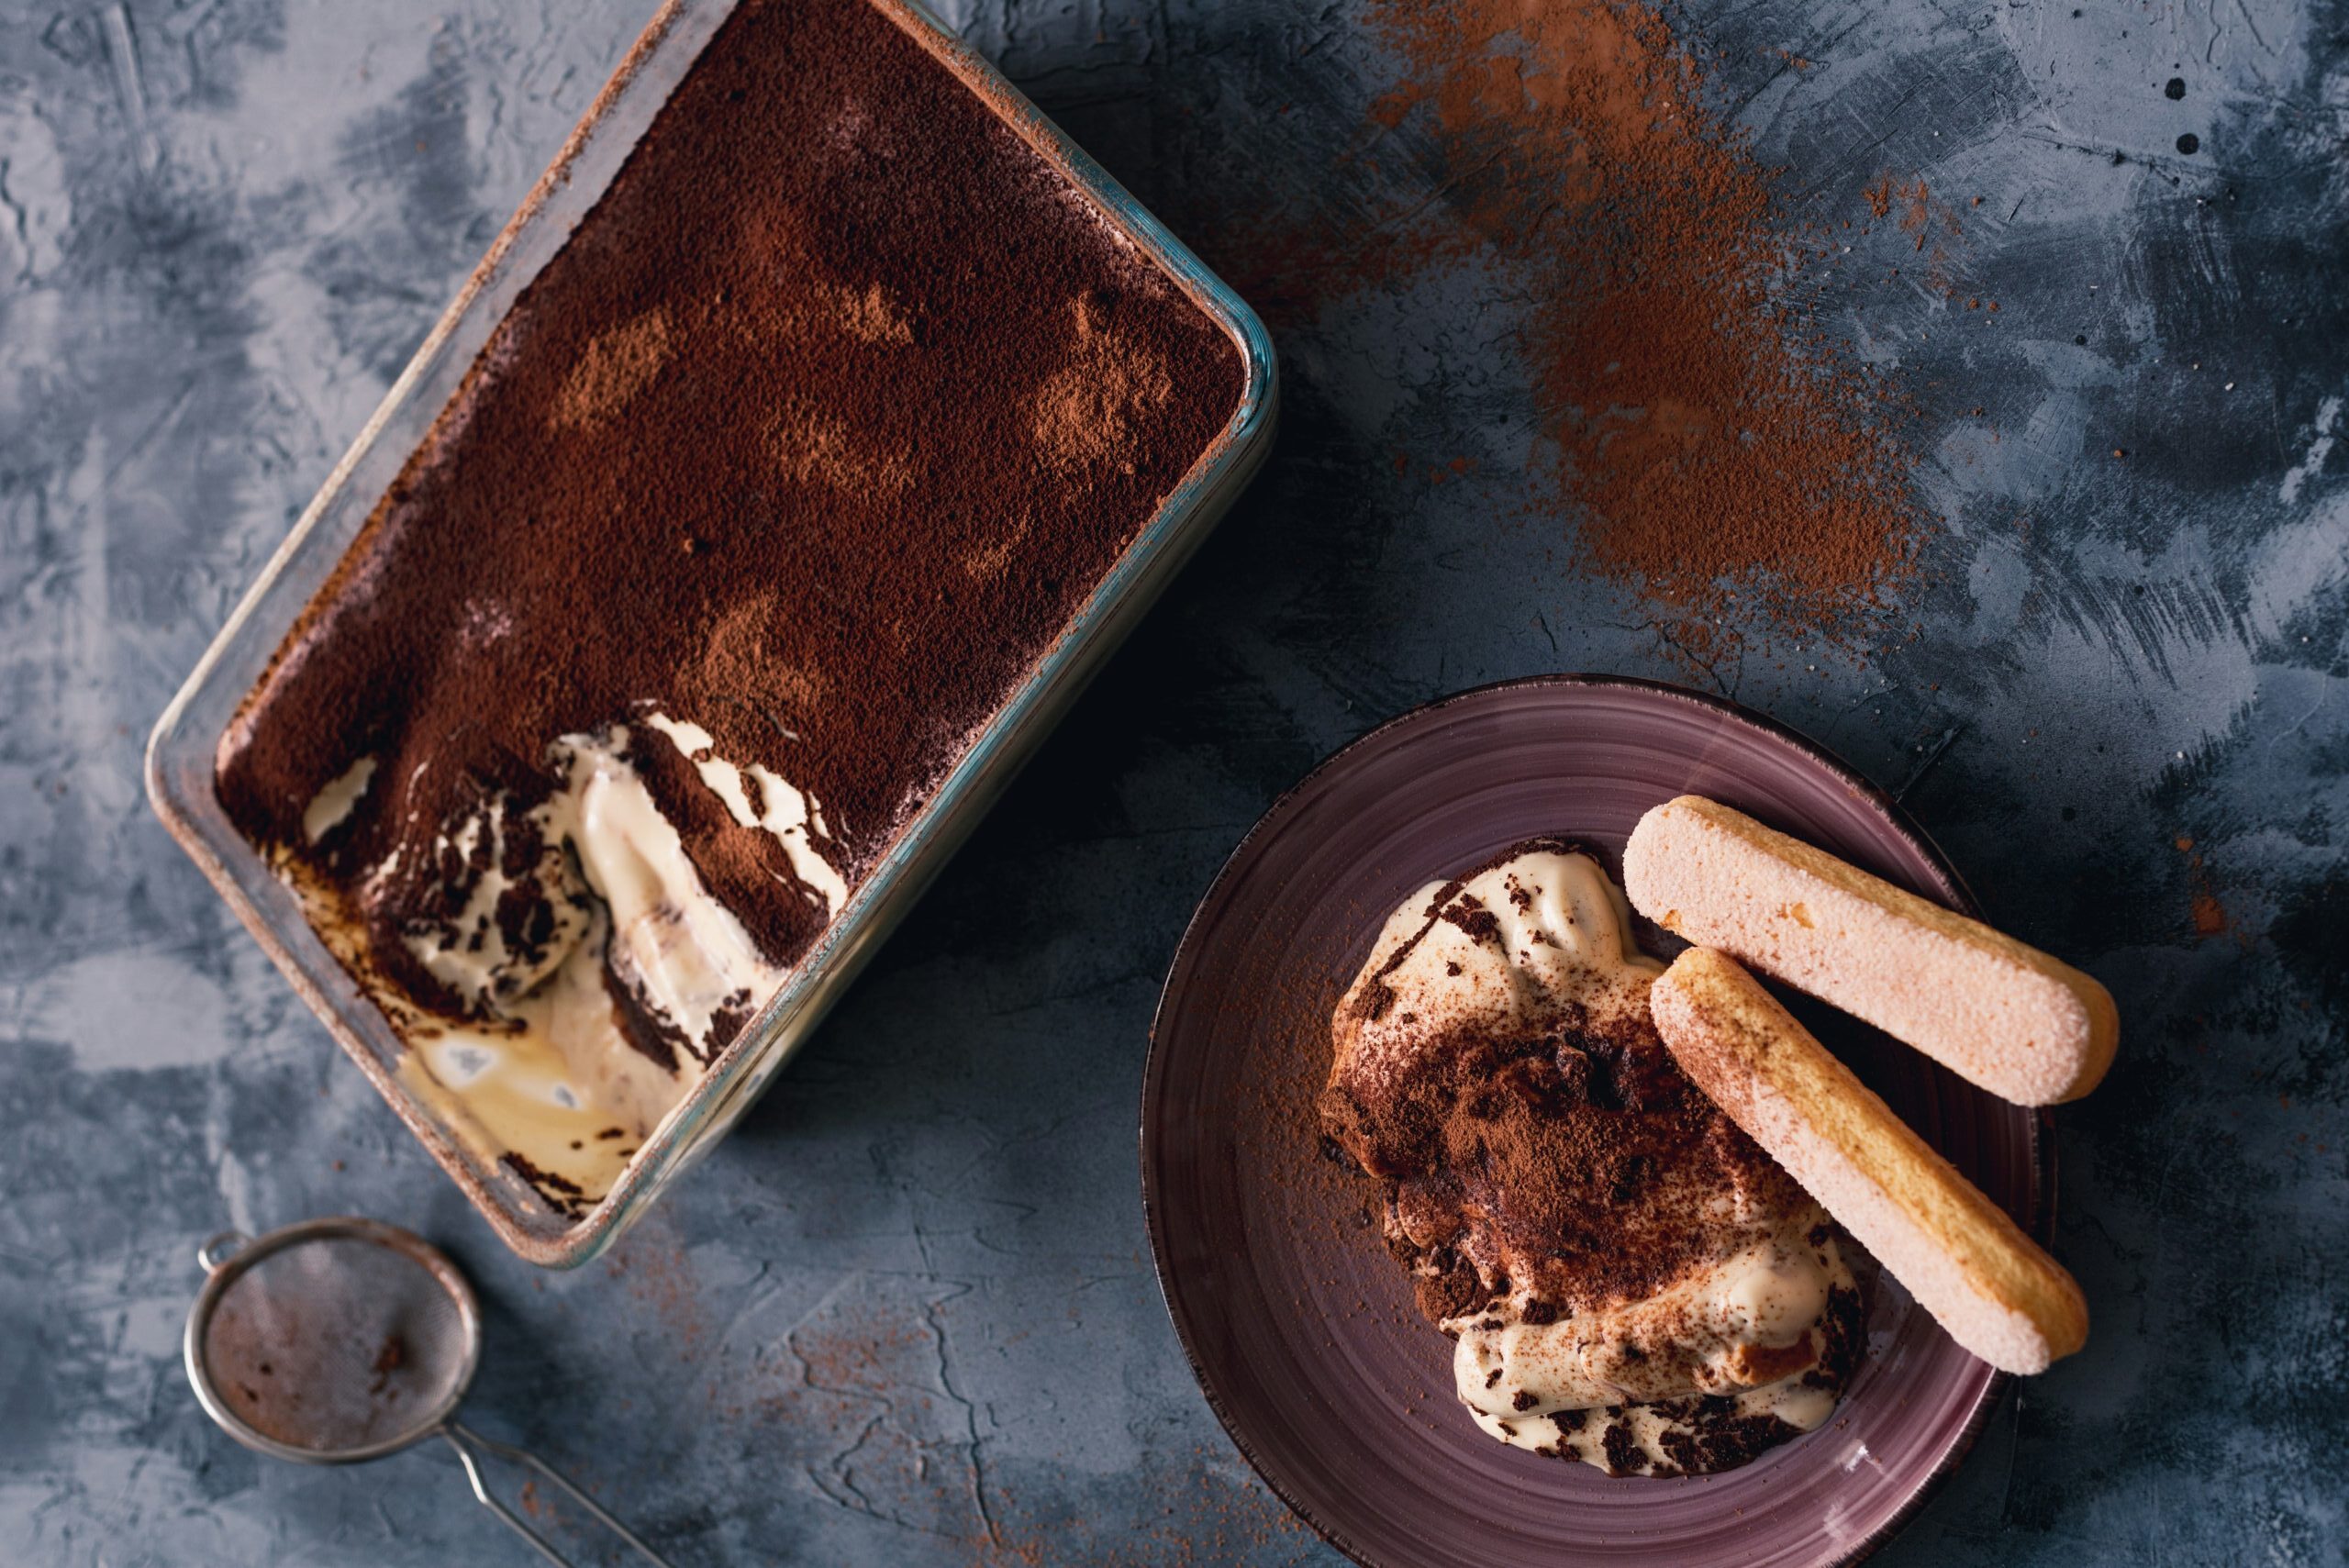
- Cover and refrigerate for at least 4 hours (or overnight). Dust with cocoa powder just before serving.
Notes
- Make sure your espresso is fully chilled. Hot espresso is not only uncomfortable to work with, but it can also oversoak the ladyfingers and make the tiramisu mushy.
This tiramisù is one of those desserts that somehow feels fancy while being incredibly low-effort — exactly what most of us need more of. It’s rich without being heavy, simple without being boring, and flexible enough to work for both kids and adults.
For best results, let your tiramisù chill for a few hours before serving. It sets up beautifully and actually tastes even better the next day, making it a great make-ahead dessert for busy parents. Store it covered in the refrigerator for up to three days (though it rarely lasts that long in our house).
Before serving, a light dusting of cocoa powder or a few chocolate shavings instantly elevates it — no extra work required. You can also serve it in individual cups or jars for easy portions and minimal cleanup.
Most importantly, don’t overthink it. This recipe is forgiving. Adjust the sweetness, add more coffee, skip the alcohol, or lean into it — whatever works for your season of life.
Whether you’re sharing this with family or enjoying a quiet spoonful after bedtime, this tiramisu is your reminder that simple pleasures count. Because yes — adults need treats too.
If you make this recipe, I’d love to hear how it turned out. Save it for later, share it with a friend, or come back the next time you need an easy dessert win.
FAQs:
Can I make tiramisù without alcohol?
Yes! This recipe works beautifully without alcohol. Simply skip it entirely or replace it with a little extra coffee. For kids or family gatherings, I recommend using decaf coffee and no alcohol.
Is this tiramisù safe for kids?
When made with decaf coffee and no alcohol, this tiramisù is kid-friendly. Please note, that there is ⅓ cup of sugar though, so for little ones, it is not recommended. If you prefer to keep it fully adult, you can use regular coffee and add coffee liqueur, rum, or Kahlúa.
Can I make this tiramisù ahead of time?
Absolutely. In fact, tiramisù tastes better after chilling. You can make it up to 24 hours in advance, making it perfect for holidays, gatherings, or busy weeks.
How long does tiramisù last in the fridge?
Stored covered in the refrigerator, this tiramisù will keep well for up to 3 days.
Can I freeze tiramisù?
Freezing isn’t recommended, as the creamy layers can change texture once thawed. This dessert is best enjoyed fresh from the fridge.
Is this traditional tiramisù?
No — and that’s intentional. This is a simplified, no-bake version made for real life. It keeps the classic flavors without the extra steps.